How to Draw a Pumpkin (Easy Step-by-Step + Jack-o’-Lantern)

Updated October 2026 · By Erick M. Reece
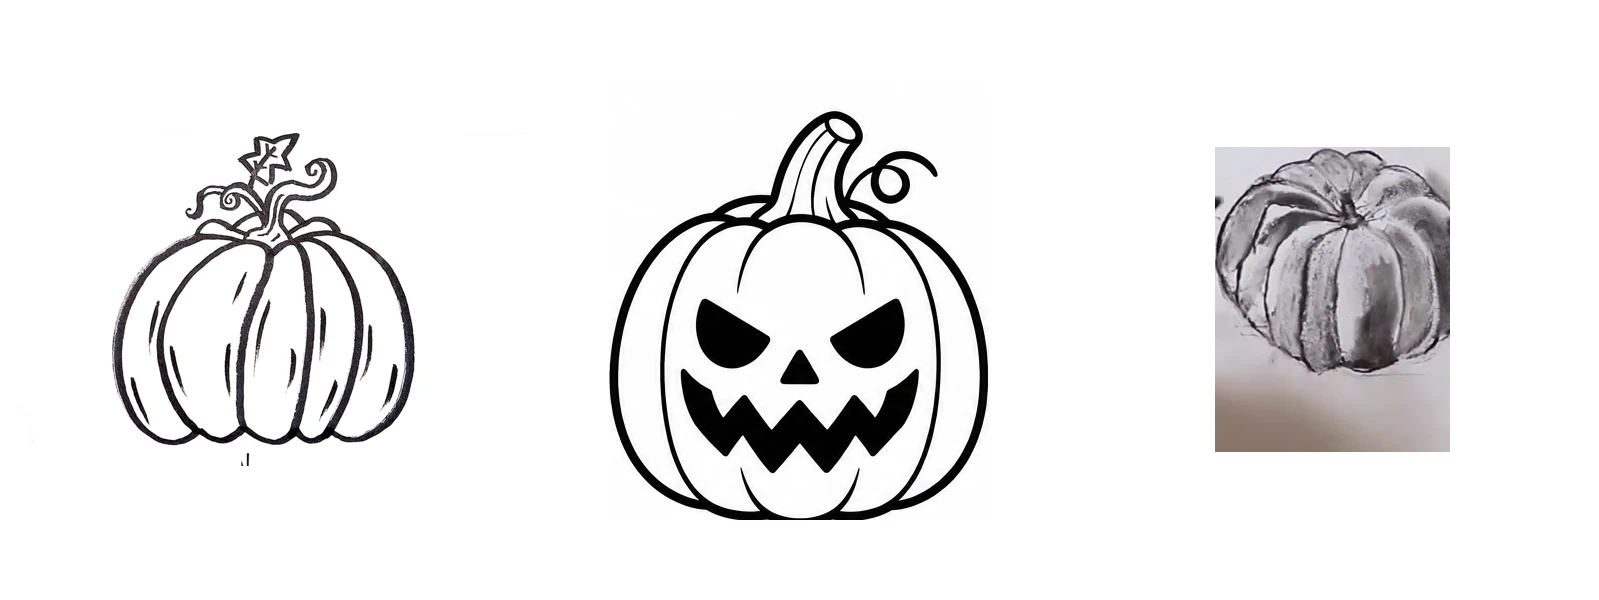
To draw a pumpkin, start with a wide oval, add two rounded sides that overlap it, and draw curved ridges from the top to the bottom. The curves are what make it look round. Top it with a short, thick stem, add a curly vine and a leaf, and color it orange. Below: an easy 6-step pumpkin (about 10 minutes), jack-o’-lantern faces, and a realistic shaded pumpkin for older kids and adults.
What you need
- Paper, a pencil and an eraser.
- A black marker for outlines.
- Orange, yellow, brown and green crayons, markers or colored pencils.
- For the realistic version: colored pencils in light orange, orange, burnt orange or red-brown, and dark brown.
Part 1: Easy pumpkin drawing (6 steps)
Step 1: Draw the middle section
Draw a tall oval in the middle of the page. It doesn’t need to be perfect. A slightly wobbly oval makes a more natural pumpkin.
Step 2: Add the round sides
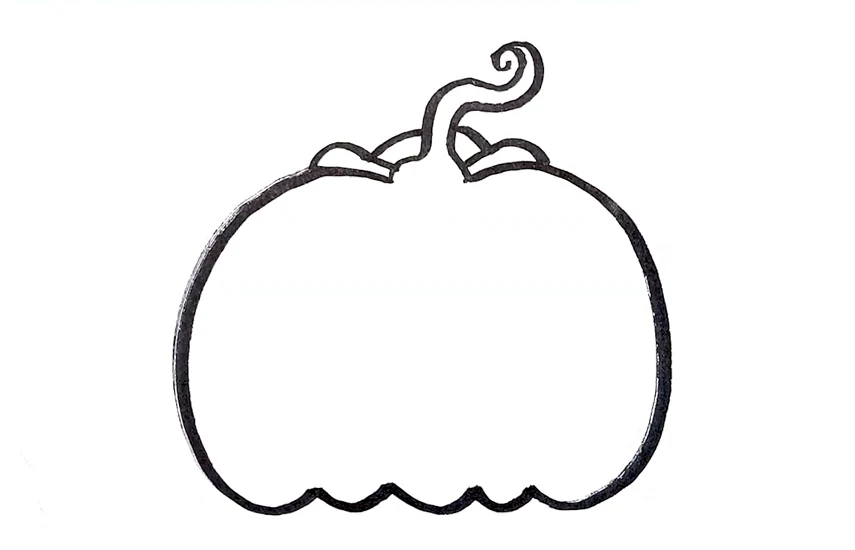
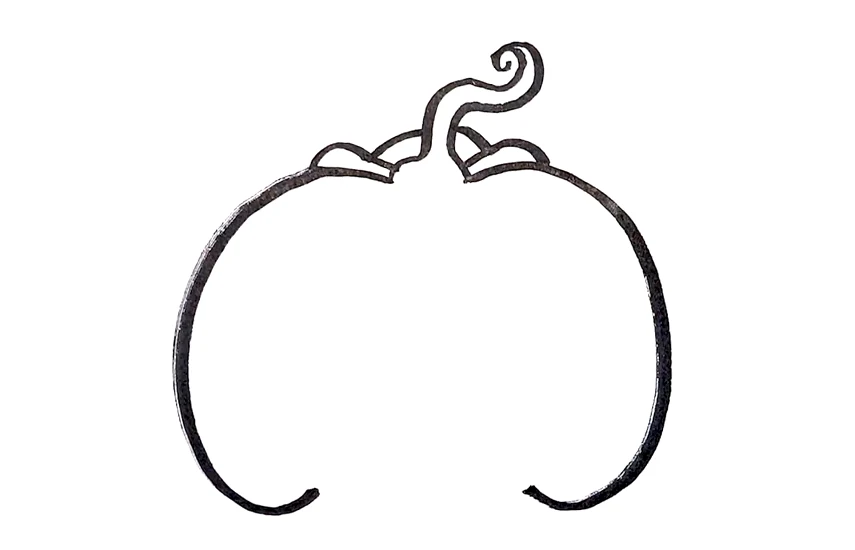
On each side, draw a big curved line that starts at the top of the oval, bulges out and ends at the bottom of the oval. Your pumpkin is now wide and round.
Step 3: Add the ridges
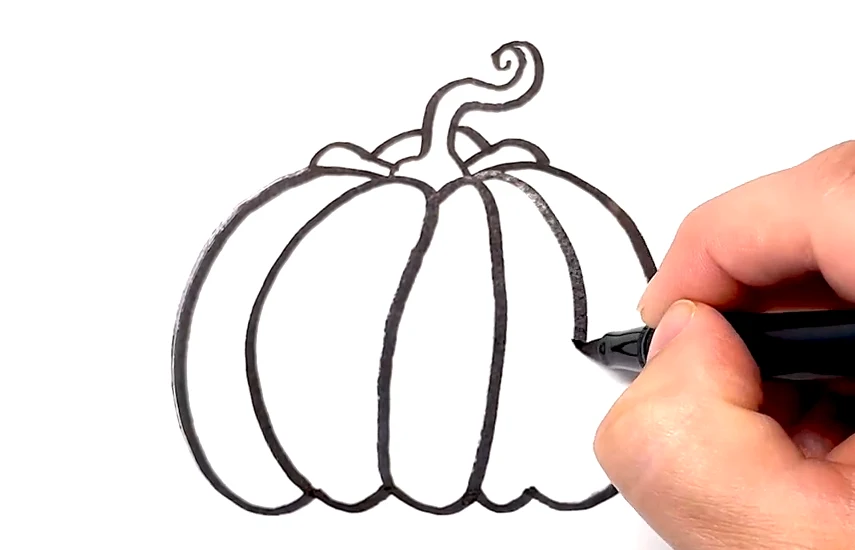
Inside each side section, draw one more curved line from top to bottom, following the shape of the side. Curves, not straight lines, are the secret. They make the pumpkin look fat and three-dimensional.
Step 4: Draw the stem
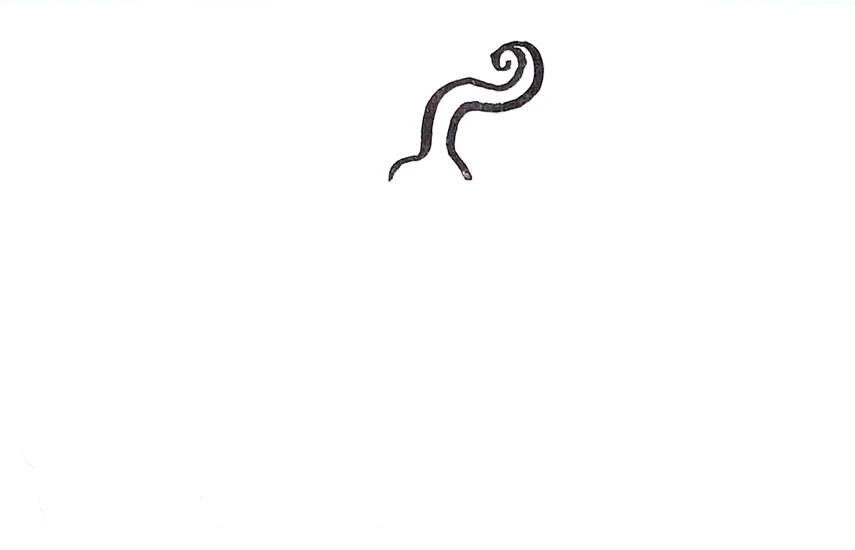
At the top center, draw a short, thick stem that leans a little to one side. Make it slightly wider at the bottom, like a tree stump, and give it a flat or rough top.
Step 5: Add a vine and a leaf
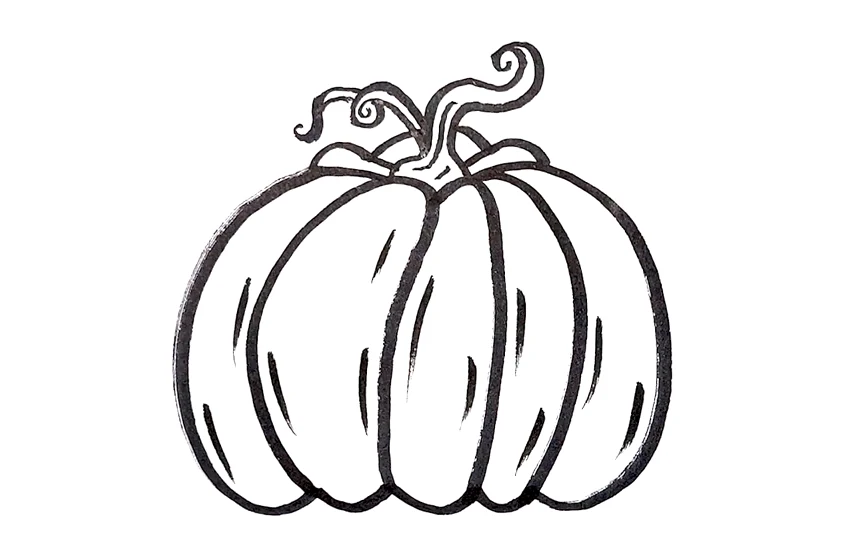
From the base of the stem, draw a curly vine, like a spring or a pig’s tail. Add one pointed leaf with a line down its center.
Step 6: Outline and color
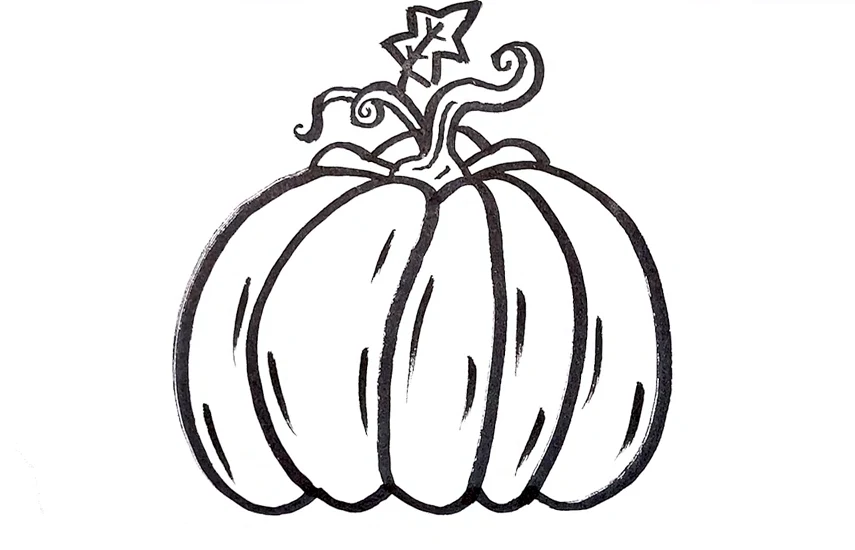
Trace your lines in black marker and erase the pencil. Color the pumpkin orange, adding a darker orange along each ridge line. Color the stem brown and the leaf and vine green.
Part 2: How to draw a jack-o’-lantern
Follow steps 1–5 above, but keep the middle section a little wider so the face fits. Then:
- Eyes: draw two triangles in the upper half, pointing up.
- Nose: draw a smaller triangle (or an upside-down one) between and below the eyes.
- Mouth: draw a wide crescent smile, then add zigzag or square teeth along it.
- Color the cut-outs yellow with a little orange around the edges, so it looks like a candle glowing inside.

Faces to try:
| Face | How to draw it |
|---|---|
| Happy | Upside-down U eyes, big smile |
| Spooky | Slanted triangle eyes, jagged mouth with pointy teeth |
| Silly | One big eye, one small eye, tongue sticking out |
| Surprised | Two round eyes, small O mouth |
| Sleepy | Two curved lines for closed eyes, a small “z” floating above |
| Cat | Pointy ears cut into the top, triangle nose, whiskers |
| Vampire | Mean eyebrows, a smile with two fangs |
| Kawaii (cute) | Two shiny oval eyes, pink cheeks, tiny smile |
Part 3: How to draw a realistic pumpkin
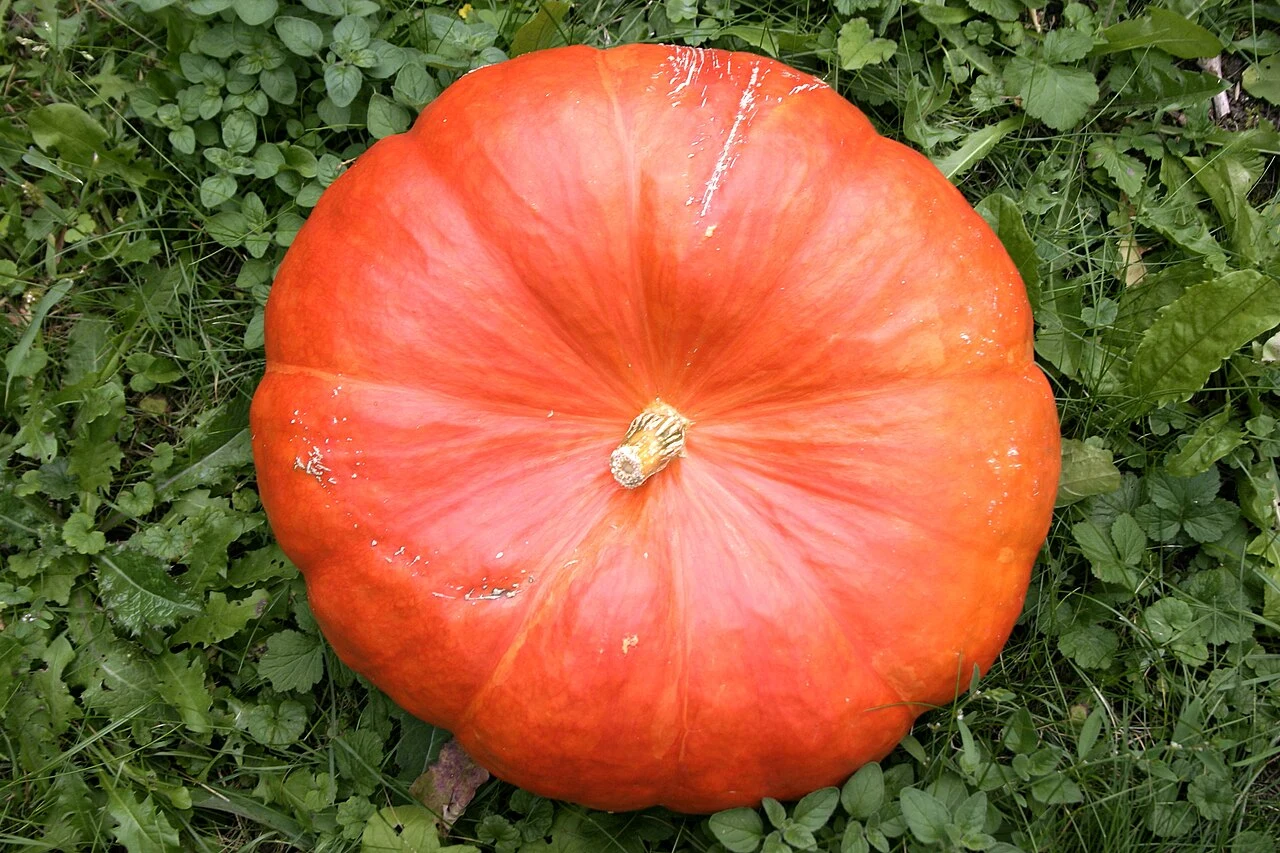
- Shape: lightly draw a slightly flattened sphere. Real pumpkins are usually wider than they are tall.
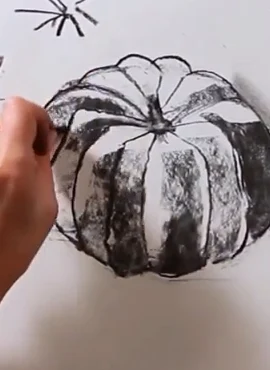
- Ribs: draw curved lines from a point just below the top to just above the bottom. Space them evenly in the middle and closer together at the sides, because the ribs turn away from you there.
- Indent the top: make the top dip down where the stem sits. Pumpkins have a slight “well” around the stem.
- Stem: draw a thick, slightly twisted stem with lines running along its length, and a flared base where it meets the pumpkin.
- Light source: choose one side, for example top left.
- Shade: color the whole pumpkin light orange. Then add darker orange in the grooves between ribs and along the side away from the light. Use burnt orange or red-brown in the deepest grooves and at the bottom.
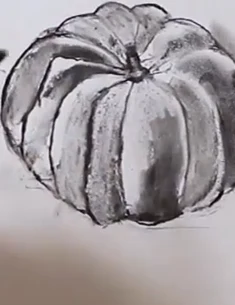
- Highlights: leave or lift a soft light patch on each rib facing the light.
- Cast shadow: add a soft shadow on the ground under the pumpkin, on the side away from the light.
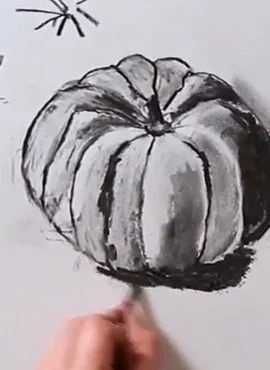
- Stem details: shade the stem with greens and browns, darker at the bottom, and add a few lines for texture.
Why does my pumpkin look flat?
| Problem | Fix |
|---|---|
| Ridges are straight lines | Curve them to follow the pumpkin’s sides |
| Pumpkin looks like a ball | Make it wider than it is tall, and dip the top around the stem |
| Thin, tiny stem | Make the stem thick and stubby, wider at the base |
| Same color everywhere | Darken the grooves and the side away from the light |
| Ribs evenly spaced edge to edge | Space them closer together near the sides |
| Face looks pasted on | Keep the face centered on the middle section, and color the cut-outs glowing yellow |
Coloring ideas
- Classic orange: orange body, darker orange ridges, brown stem.
- White pumpkin: leave the paper white and shade the grooves light gray or pale blue.
- Green and gold heirloom pumpkin: stripes of green between gold ribs.
- Spooky night: black background, glowing yellow-orange jack-o’-lantern.
- Watercolor: wash orange over a waterproof black outline for a soft look.
Make it a fall scene
Draw three pumpkins of different sizes, overlapping, with the biggest in front. Add a hay bale, a few fall leaves, or a spider web in the corner for a Halloween card. In November, swap the face for a turkey or gratitude words on the pumpkin.
Next: print a smiling pumpkin from our cute coloring pages.
FAQ
How do you draw a pumpkin easily?
Draw an oval, add a curved side on the left and right, draw a curved ridge in each side, then add a short stem, a curly vine and a leaf.
How do you draw a jack-o’-lantern?
Draw a pumpkin with a wide middle, then add two triangle eyes, a triangle nose and a wide smile with square or zigzag teeth. Color the face yellow so it glows.
How do you make a pumpkin drawing look 3D?
Curve the ridges to follow the pumpkin’s shape, space them closer at the sides, and shade darker in the grooves and on the side away from the light.
What colors do I need to draw a pumpkin?
Orange, a darker orange or red-brown, yellow, brown and green.
How long does it take to draw a pumpkin?
About 10 minutes for the easy pumpkin, and 30–45 minutes for a shaded realistic one.
What is a good pumpkin drawing for kids?
The easy 6-step pumpkin, or a happy jack-o’-lantern with triangle eyes, works best for ages 4–10.
How do you draw a cute pumpkin?
Give it big shiny oval eyes, pink cheeks and a tiny smile, and keep the shape round and chubby.