Spider Web Drawing: How to Draw a Spider Web Step by Step

Updated October 2026 · By Erick M. Reece
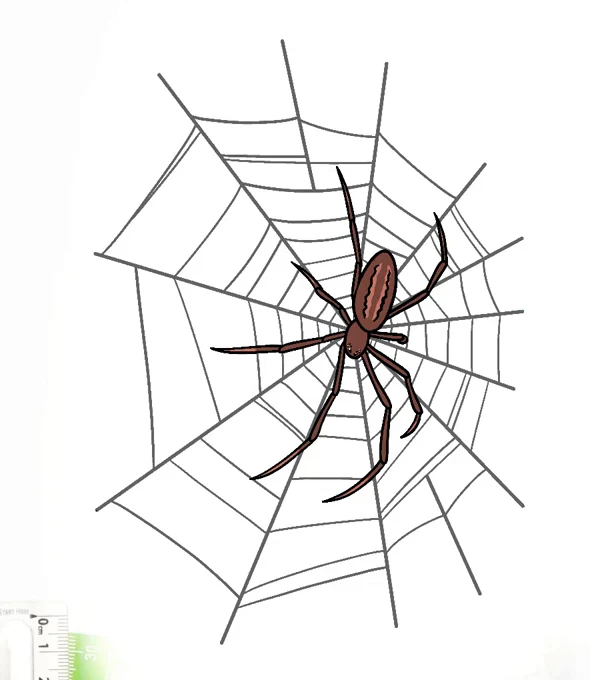
To draw a spider web, start with straight lines crossing at one center point, like spokes on a bike wheel. Then connect the spokes with gently curved lines, working outward in rings that grow bigger as you go. Finish by erasing extra marks and adding a spider. The easy 5-step web below takes about 10–15 minutes. After it you’ll find a neat compass method, a corner web for Halloween decorations, a cute spider and tips that make a web look real.
What you need
- Paper. White works for pencil and marker, and black paper looks amazing with a white gel pen.
- A pencil and eraser.
- A black marker or fine-liner for the final lines.
- Optional: a ruler (for the spokes) and a compass (for the neat method).
Part 1: Easy spider web drawing (5 steps)
Step 1: Draw a cross
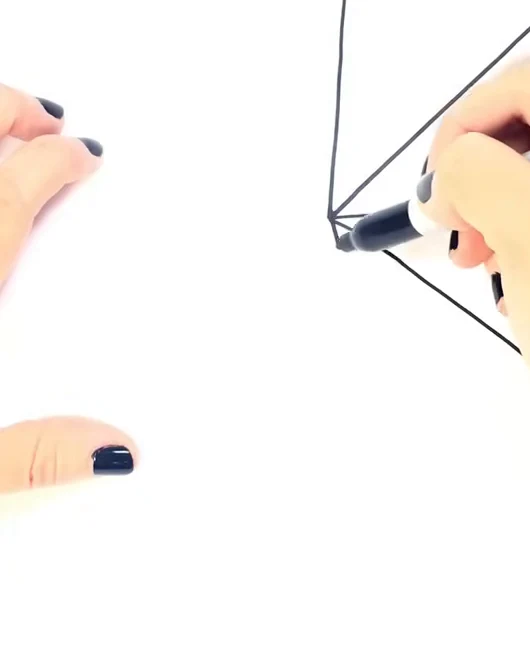
Draw one straight line from top to bottom and one from left to right, crossing in the middle. Make them about the same length.
Step 2: Add the diagonal spokes
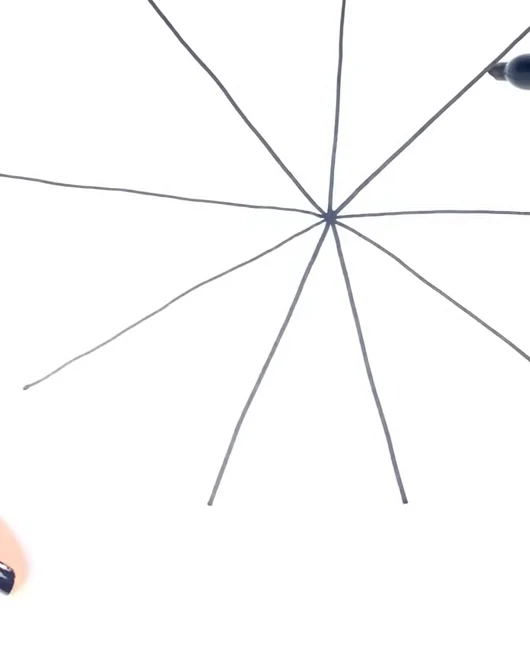
Draw two more straight lines through the same center point, between the first two, like an X over a plus sign. You now have 8 spokes and 8 wedge-shaped sections. For a fuller web, add one more line in each section to make 16.
Step 3: Draw the first ring of curves
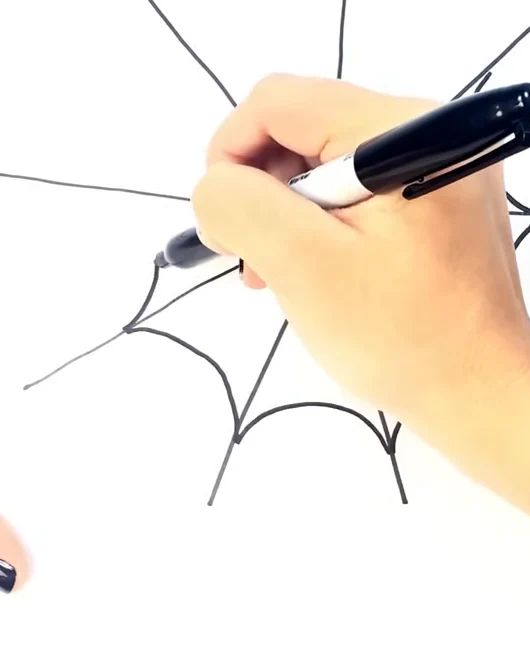
Near the center, connect each spoke to the next with a small curved line that dips toward the center, like a little smile turned inward. Go all the way around.
Step 4: Add bigger rings outward
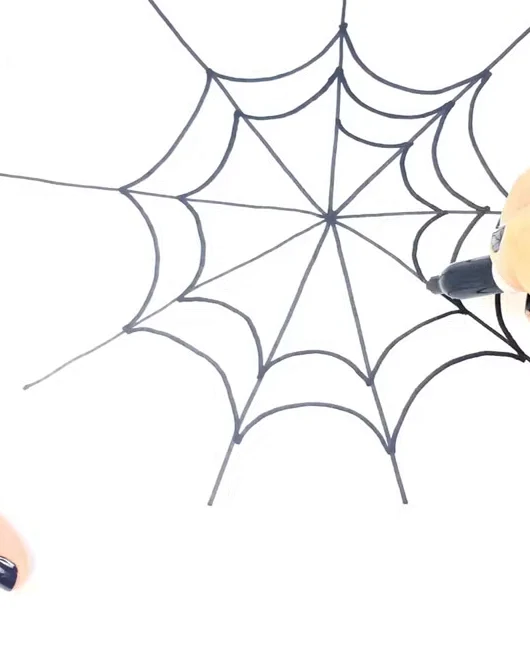
Draw another ring of curves a bit farther out, then another and another. Each ring should be a little bigger than the last, and the gaps can get slightly wider as you move out. Stop just before the ends of the spokes.
Step 5: Clean up and darken
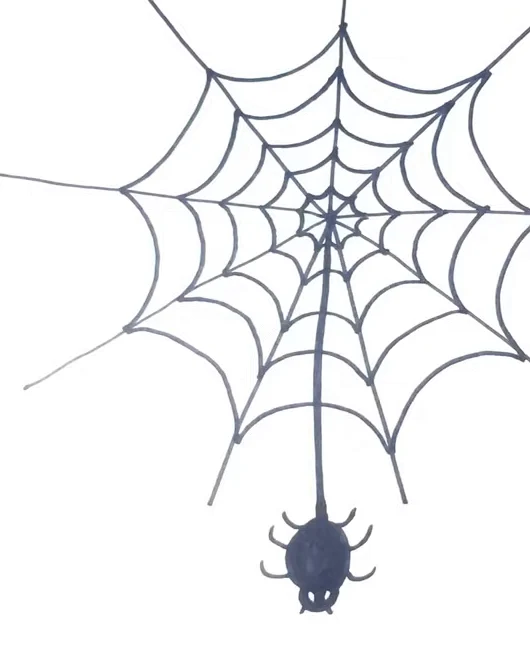
Erase any stray pencil marks, then trace the web with a black marker. Draw the main spokes a little thicker than the curved threads, because that’s how real webs look.
Kids’ tip: it’s fine if the sections aren’t equal. Real spider webs are never perfectly even.
Part 2: The neat compass method (for a perfect web)
Want a web that looks crisp and even? Use guide shapes, then erase them.
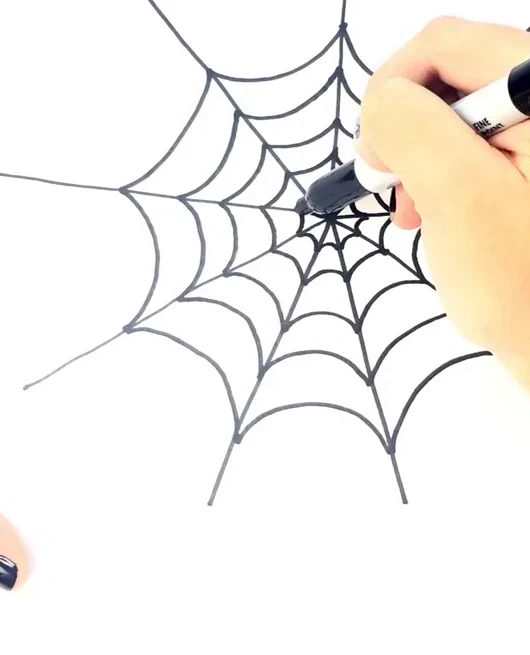
- Mark a dot in the center of your paper.
- With a compass on the dot, draw a large guide circle.
- Using a ruler, draw 12–16 spokes from the center to the circle. Start each line at the center rather than drawing one long line across, which looks more natural. The angles don’t need to be identical.
- Lightly draw a small spiral around the center. This is the web’s hub.
- Draw a second, smaller guide circle a little outside the spiral.
- Now fill each section with gentle arcs from spoke to spoke, starting at the inner circle and working out toward the big circle. Keep the spacing even.
- Erase both guide circles once the arcs are done.
This method takes 30–45 minutes, but the result looks like a real orb web, and many people find it relaxing, a bit like drawing a mandala.
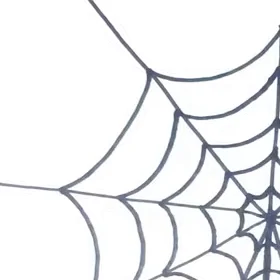
Part 3: How to draw a corner spider web (Halloween favorite)
Corner webs are perfect for decorating the edges of Halloween cards, posters and invitations.
- Choose a corner of your paper.
- Draw 4–6 straight lines fanning out from the corner, like the ribs of an open fan.
- Starting near the corner, connect neighboring lines with small curves that dip toward the corner.
- Add bigger curves farther out, until the web reaches about a third of the way across the page.
- Let one long strand hang down from the web, and dangle a spider from it.
- Draw corner webs in two opposite corners of a page for a spooky frame.
Part 4: Add a cute spider
- Draw a small circle for the head.
- Attach a bigger oval behind it for the body. Spiders have two main body parts.
- Add eight legs, four on each side. Draw each one as a line that bends in the middle, like a knee, and make the legs about twice as long as the body.
- Add two big eyes with white sparkles and a little smile for a friendly spider. Real spiders often have eight eyes, but two is cuter.
- To make it hang, draw a thin line from the spider up to the web.
Tips for a realistic spider web
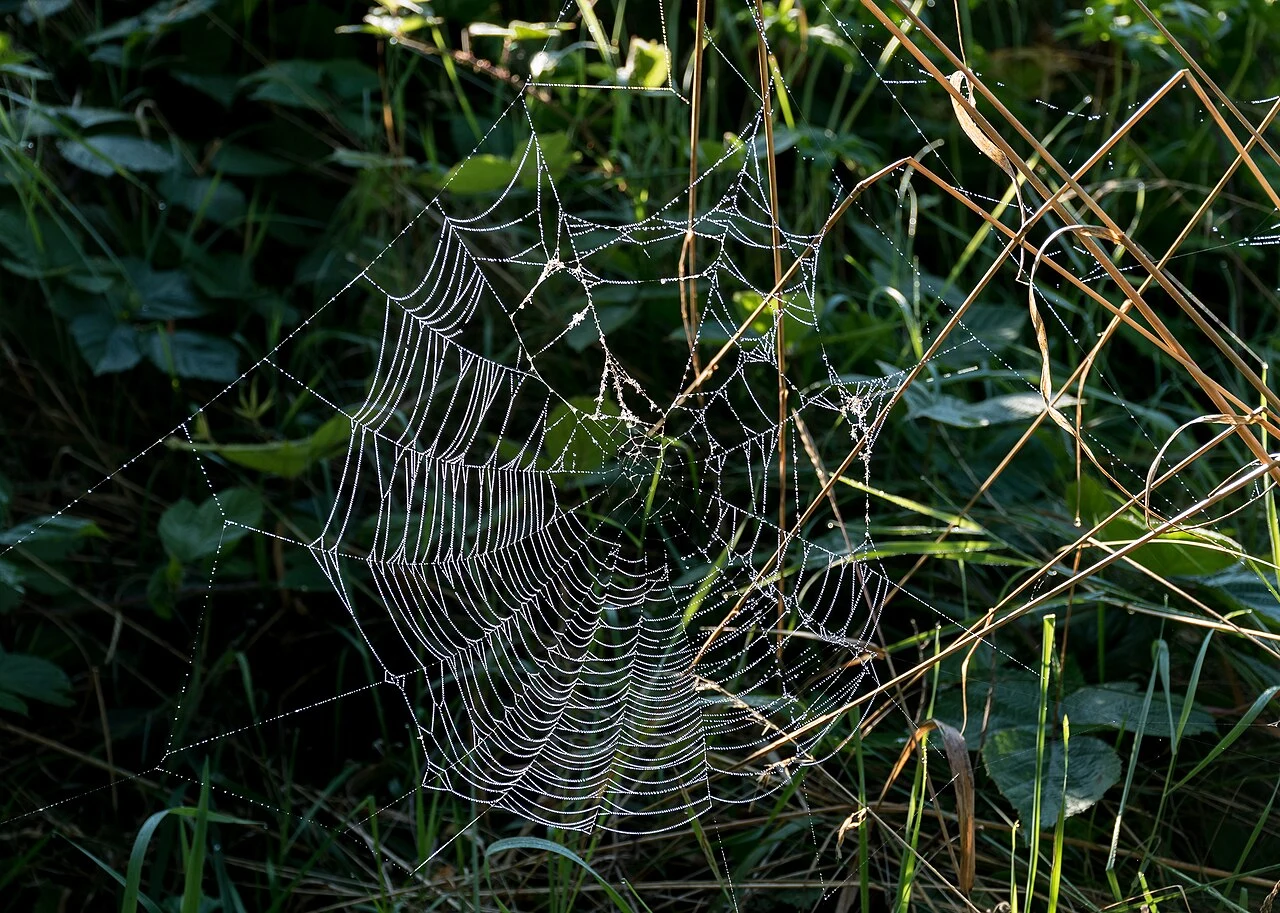
- Curve the threads. Draw each ring as gentle curves, not straight lines. Straight segments make the web look like a stop sign.
- Vary the line weight. Thicker spokes and thinner spiral threads look more natural.
- Add dewdrops. Tiny white dots or circles along the threads, especially on dark paper, make the web sparkle.
- Break a few strands. One or two snapped threads curling loose add realism and spookiness.
- Make it lopsided. Real webs are often off-center, with the hub placed higher than the middle.
- Anchor it. Extend a few outer strands to a twig, leaf or window frame so the web isn’t floating in space.
- Catch something. A tiny leaf or fly caught in the threads tells a story.
Fun fact for kids: in a real orb web, the straight spokes aren’t sticky, so the spider can walk on them. The spiral threads are the sticky ones that catch insects.
Common mistakes
| Mistake | Fix |
|---|---|
| Spokes crowded on one side | Draw the cross first, then split each section evenly |
| Rings drawn as one continuous spiral that looks like a snail | Draw separate curves between each pair of spokes |
| Curves bulging outward | Make curves dip in toward the center |
| Too many tiny rings | Space the rings out. 5–7 rings is plenty for a beginner |
| Spider with 6 legs | Spiders have 8 legs, four on each side |
Spider web drawing ideas for Halloween
- White gel pen on black paper: the most striking look, perfect for party invitations.
- Glitter glue web: trace your pencil web with glitter glue for a sparkly decoration.
- Window web: draw a web with a washable white window marker on a glass door.
- Pumpkin plus web: draw a pumpkin with a corner web above it. Learn how to draw a pumpkin next.
- Web coloring page: color each section a different autumn color for a stained-glass effect.
FAQ
How do you draw a spider web easily?
Draw a cross and an X through the same center to make 8 spokes, then connect neighboring spokes with curved lines, working outward in growing rings.
How many lines does a spider web drawing need?
At least 8 spokes for a simple web. 12–16 spokes give a fuller, more realistic web.
How do you draw a spider web in a corner?
Fan 4–6 straight lines out from the corner, then connect them with curves that dip toward the corner, getting bigger as you move out.
Should spider web lines be straight or curved?
The spokes are straight, and the threads between them are gently curved and dip toward the center.
How do you make a spider web drawing look real?
Vary line thickness, place the center slightly off-middle, add a few broken strands, and dot white dewdrops along the threads.
How many legs should a drawn spider have?
Eight legs, four on each side, each bent in the middle like a knee.
What do I need to draw a spider web?
Paper, a pencil, an eraser and a black marker. A ruler and compass help if you want a neat, even web.